The physics of a bristle brush is complex: the stroke is the result of interaction between brush geometry, painting surface, pigment properties among the others. In this article I’ll describe a simplified model to create a brush nib for Affinity Designer, but that fits almost any dab-based raster editor.
A MATTER OF CAPILLARITY
Capillarity is the physical phenomenon that allows diluted pigments (or ink) to be captured in our brush.
The interaction between fluid’s intermolecular forces and surrounding surfaces (eg. brush fibers) makes pigment to fill narrow spaces and flow within them.

This is our flat shaped brush, charged with some ink: in a digital world this quantity is infinite (the brush is always releasing ink while drawing).

Now let’s take only three fibers (a bristles’ pack), to shape a simple volume.
Sweeping the surface this volume defines a shape which will be the base of our nib.

When fibers hit the surface, the pressure increases the distance between them (phi angle) quickly (head) and the gradually fades toward the end (tail).

Assuming our simplified brush made of a single fiber’s pack I’ve tried to describe the shape as fish curve.

This is the parametric representation of it, where k=4 and sigma is the parameter that rules its lenght (could be linked to pen tilt for example to have a dynamic variation of trails). This profile is a conic curve (the result between the intersection of a plane with a cone) and can be used as starting point.
I know that using such an approach sounds pretty weird, but helps to have an effective base to create a nib.
The Nib
Now that we have our shape we can iterate around its distribution and repetition, creating three images.
One for fine fibers groups, one for larger groups and the third one with a bit of randomness in orientation.
To have a smoother effect I’ve added a bit of gaussian blur to soften edges.

To build my brush preset I’ll use Affinity Designer that employs a useful feature: can manage multiple nozzles and distributes these randomically along our stroke.

The picture above describes how it’s engine works, with spacing we can mix our nibs easily. But be careful with spacing: the lower the value, the slowest the stroke!
Anyway this nib is designed to keep spacing quite large delivering a very good performance.
To get a subtle Impasto effect we can apply an emboss effect to the nib shape as shown below.

Another two important parameters are Flow (must be balanced with Spacing) and Wet edges. Blend mode is up to you.
Using a texture as shown above ad using the Dynamics tab for tablet settings helps to add more realism.
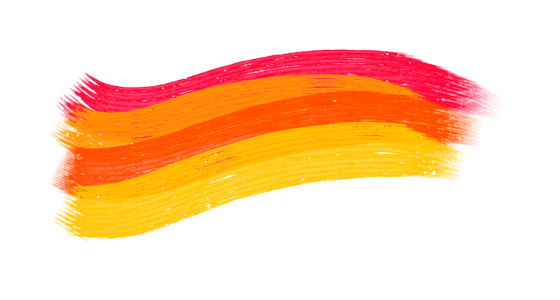
And this is the result!

And a speed painting done with some gouaches designed with this approach.
Happy painting!
